Introduction
We typically start projects with a one-off data extraction before implementing a live data connection to the application(s) or data warehouse to enable optimised daily data loads.
Performing data extractions via application reports can be cumbersome, create challenges with completeness, and the output often does not follow a standardised format. This is where an API-based extraction for cloud applications, or a database based extraction for in-house or dedicated cloud systems, is preferred.
This guidance covers how to extract data from a database such as Oracle or MSSQL using Intellifold data extraction scripts.
This instruction is intended for IT personnel who will perform the data extraction.
The steps
Key steps explained in further detail below:
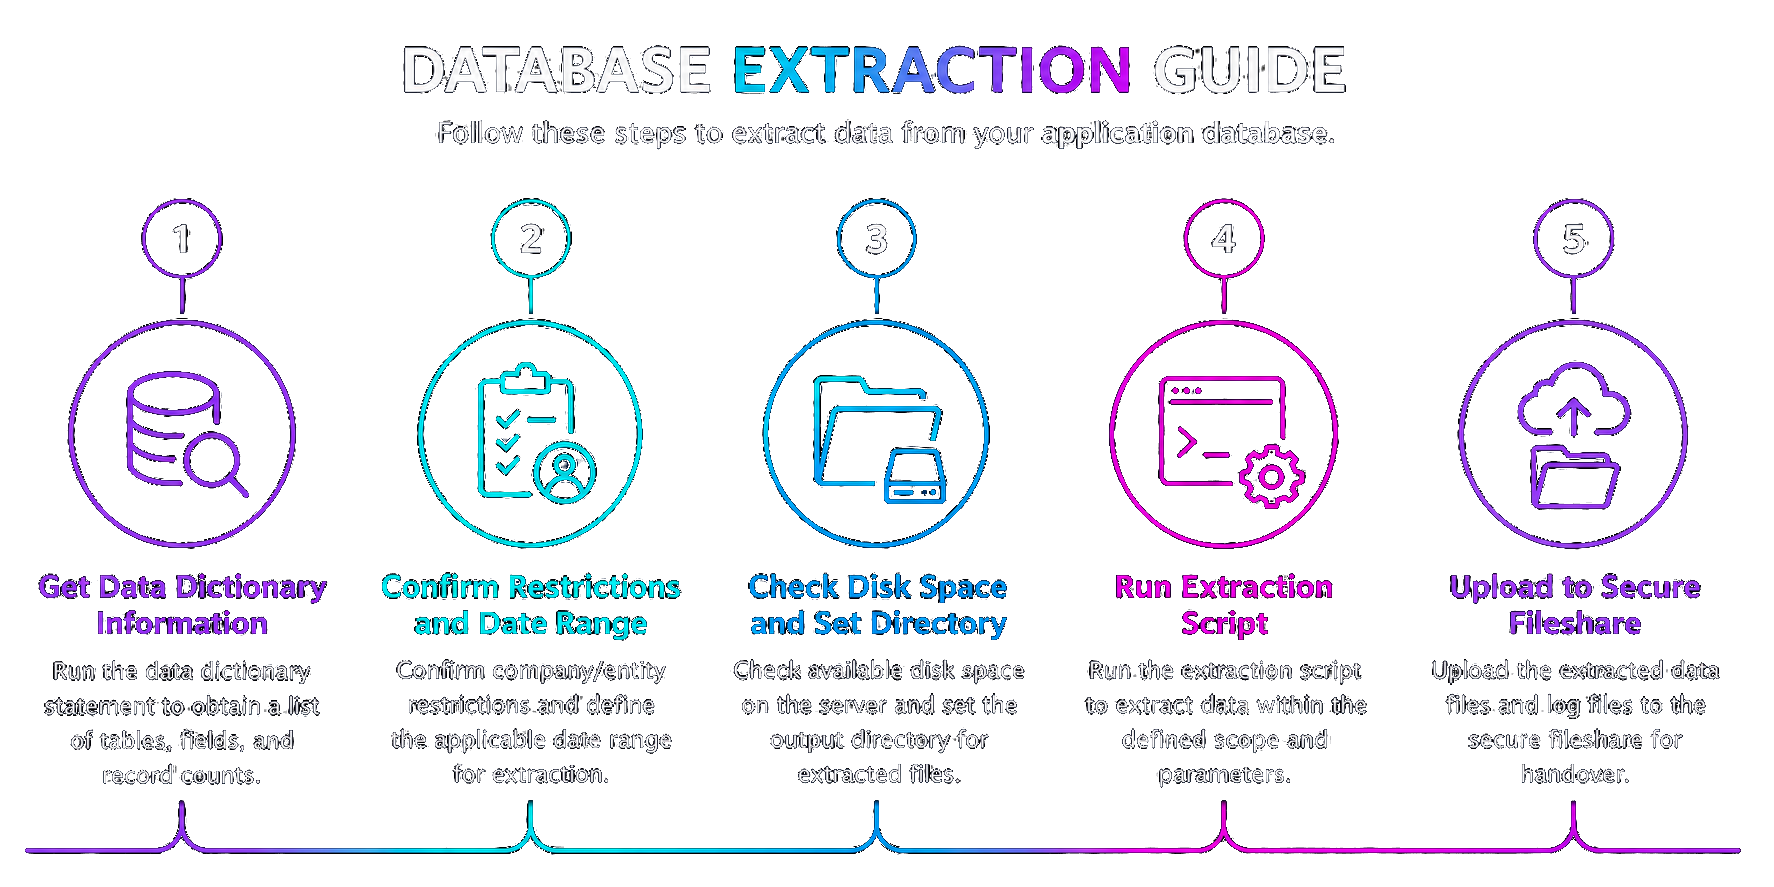
Step 1 - Data Dictionary information
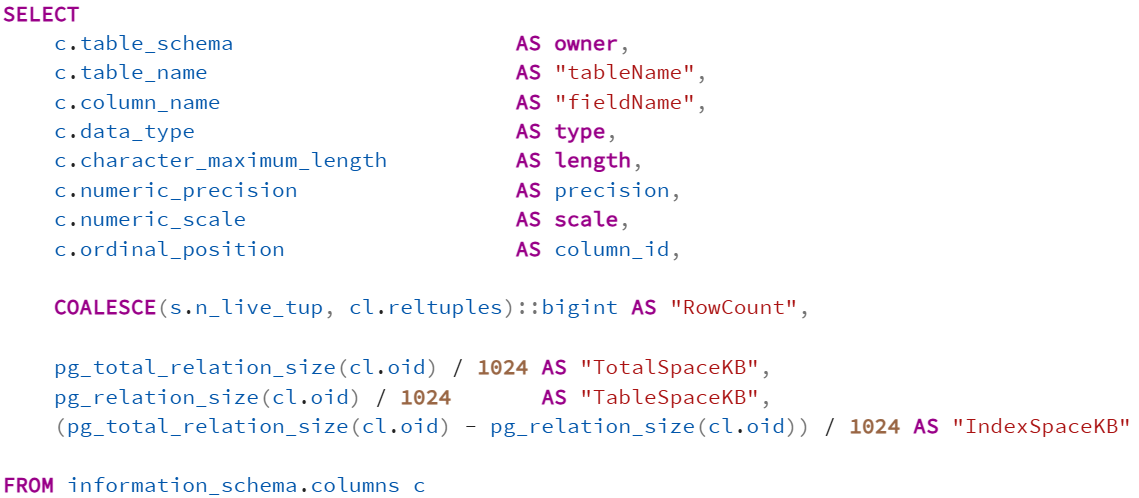
A basic SQL statement is used to get a list of all tables with their fields and the number of records from the application database. Schema restrictions can be applied where relevant. Please select the relevant database:
Based on this information we provide the tailored data extraction script for your system.
Step 2 - Confirm script restrictions and date range
Before running the full extraction script (created based on the data dictionary information), consider the following:
- Entity restrictions (company, unit etc.) configured in the script. These get applied to tables where such field is present.
- Data range constraints are applied to all large transactional tables. For financial records this is typically applied to the posting date, for other transactional data the creation date is used.
Please note that restrictions can by application specific. For example, JD Edwards stores a Julian date format which therefore requires a different date constraint format. - Permissions required to read from the production database and write to a server output directory.
MS PowerShell scripts used for MSSQL extractions, also require PowerShell execution permissions.
Date range example for Oracle EBS:

Date range example for TechnologyOne:

Date range example for JD Edwards:
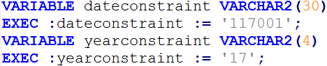
Date range example for MS D365:

Step 3 - Check disk space and set directory
To avoid extraction delays, we always recommend extracting data to a location on the same server. Files can be compressed and shared after. Check the following:
- Available disk space in output directory where extracted files will be stored. We can provide an approximation of size based on the data dictionary information.
Please use a different subfolder if multiple scripts were provided, to ensure all output per script execution is clear. - User account used for performing the data extraction. This should have the permissions to read all tables and write to the output folder. For MS PowerShell scripts it should also have PowerShell access.
- Time out restrictions. Some clients have limitations on how long jobs can run. This can be different depending on the user account used. Please verify the script can run for several hours.
- Extraction time. While these script require little resoures and can be run in the background, we recommend avoiding peak hours. Also make sure the extraction occurs after the end of the confirmed period (e.g. financial close).
Specification of the output folder for the data extraction for a database script:

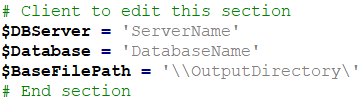
Specification of the server, database, and output folder for a MS PowerShell script:
Step 4 - Run extraction script
After checks above, copy and paste the scrtipt content into your SQL database management tool and execute on the production database to start the data extraction process. If you have recieved more than one data extraction script, run each script in sequence with a different output file path.
For MS PowerShell scripts run the script in the Windows command prompt (‘R’ for run once). The script will call the database and perform the select statements for the tables and restrictions specified in the extraction script. MS PowerShell scripts are more reliable during run-time and significantly faster in execution than pure T-SQL scripts.
In the output directory, the script will create a file per extracted table and a logfile with the record counts. In case of a PowerShell (MSSQL) script, also a seperate header file is created per table extracted.
Step 5 - Share data
When the data extraction has completed, compress the output folder with all files using a program like Winzip or 7-zip. Since all files are flat text files, the zipped file size will be significantly smaller and easier to transfer.
We accept secure file transfer options, including:
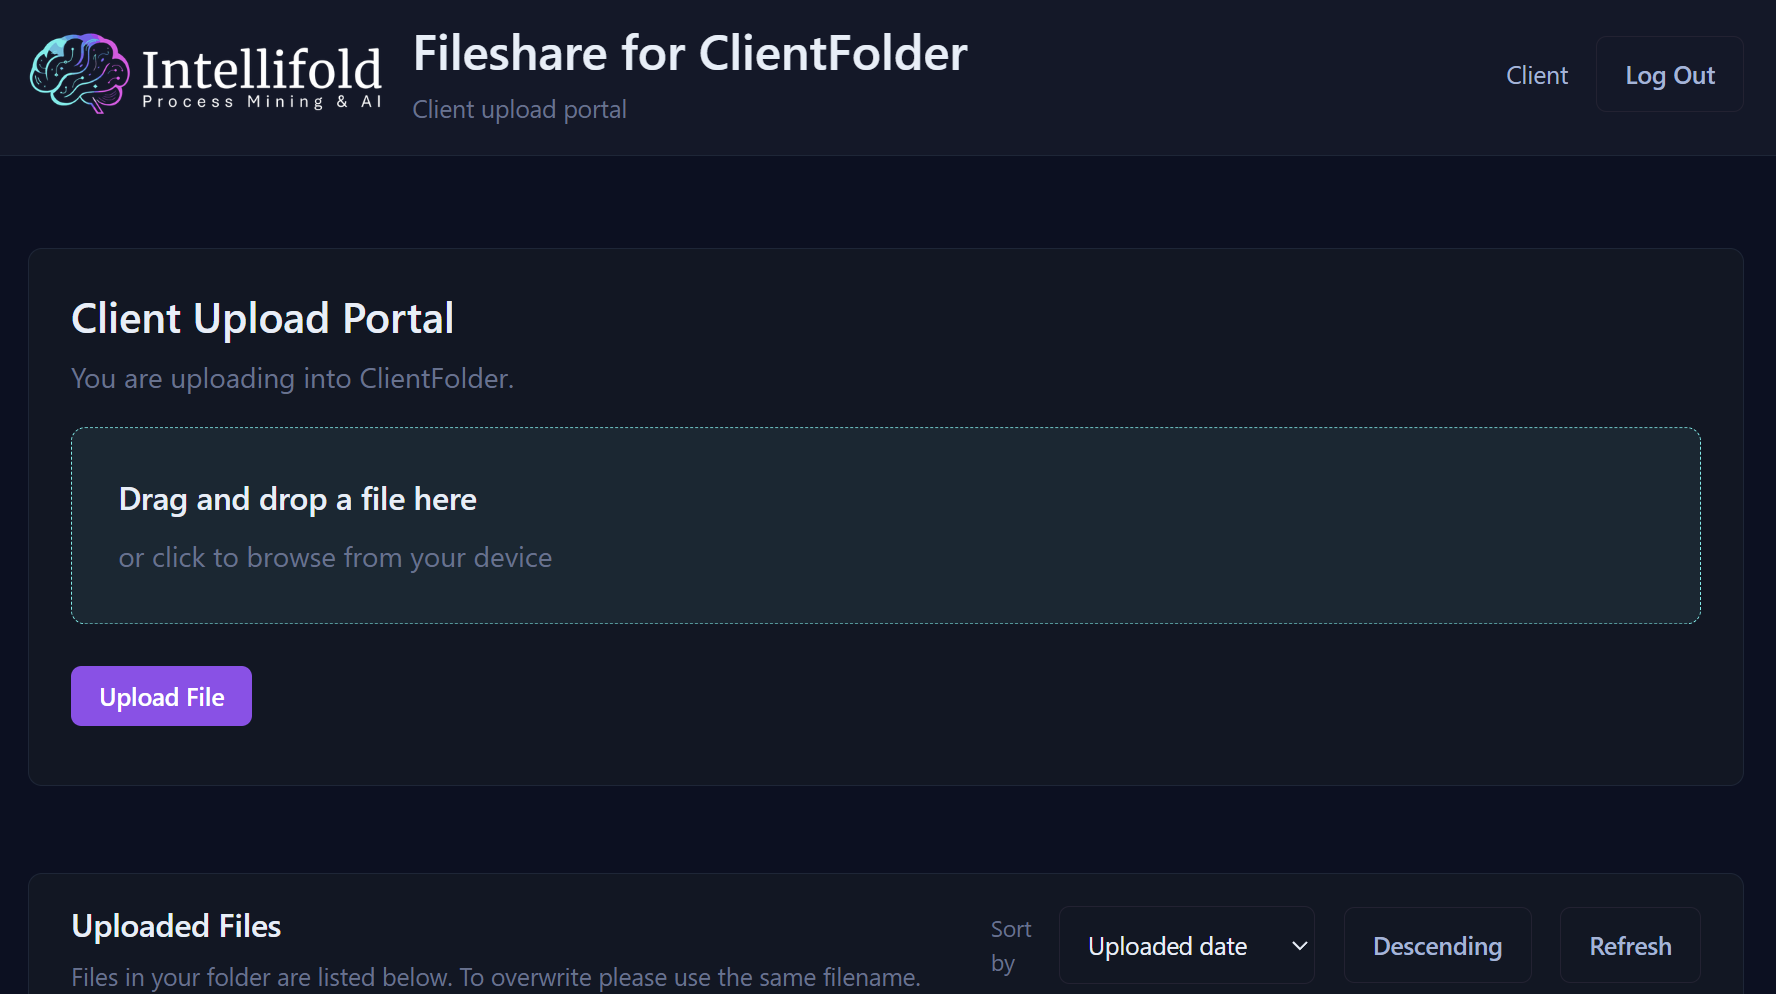
- Intellifold fileshare application. Our secure fileshare as shown in the image allows for easy upload of data to our servers. For security reasons files can only be uploaded and not downloaded through this application.
- Client provided fileshare (SharePoint, Google Drive etc.) depending on client tools and policies.
- A SFTP location as provided by the client.
- Intellifold Data Integration. While typically used for building a continuous data flow from source application to the Intellifold platform, it also allows flat file uploads in predefined format.
Troubleshooting
If you receive an error during the execution of the extraction script, please contact us with the following:
- Process step when issue occured
- Error message if available
- All files extracted in the output directory
- Any follow-up checks and steps performed
Common issues:
- Incomplete access to read the database tables or write to the specified output folder.
- Insufficient disk space. Data volumes can range from a few GB to potentially hundreds of GBs for large systems.
- Time-out of the script execution due to connection issues or automated tools that may disconnect long running jobs.
- Tables or fields specified in the script do not match the database. The scripts are created based on the data dictionary output.
- Rows are all truncated to a specific number of characters (e.g. 1000 ). This is a setting in the database tool and needs to be removed before script execution.